
Pdf Bank Statement Example: Layouts, Fields & CSV Output
Explore annotated pdf bank statement example layouts, field definitions, and parsed CSV output for bookkeepers and finance teams seeking accurate conversion.
You've received a folder of PDF bank statements, and the month-end deadline isn't moving. The statements look perfectly readable on screen, yet turning them into usable spreadsheet rows can expose missing dates, merged descriptions, reversed debit signs, or balances that no longer reconcile. A useful PDF bank statement example must therefore show more than a polished page. It should reveal what the document contains, how each field is interpreted, and what the converted CSV or Excel output should look like.
For finance teams, the practical question is simple: can we move from a visual record to accurate, reviewable transaction data without introducing new errors? The answer depends on the statement's structure, the extraction method, and the checks performed after conversion.
Table of Contents
- Why the PDF Bank Statement Example Matters for Your Workflow
- Anatomy of a Bank Statement Document
- Digital Versus Scanned Statement Sources
- Identifying Header Information Fields
- Decoding the Transactional Body Layout
- Mapping Statement Data to Spreadsheet Rows
- Data Normalization and Parsing Rules
- Executing the Conversion Workflow
- Choosing Between CSV and Excel Output
- Verifying Accuracy and Reconciliation Checks
- Pricing and Access Tiers Explained
- Strategic Takeaways for Finance Teams
Why the PDF Bank Statement Example Matters for Your Workflow
A statement may look like a page of text, but reconciliation depends on its underlying structure. The header identifies the account and reporting period, the transaction body records activity, and the balances provide control points. If a parser treats the page as an image rather than as organized financial data, the spreadsheet can look tidy while still being wrong.
Consider a common month-end workflow. A bookkeeper downloads statements, copies transactions into a workbook, and then compares the result with the ledger. One transaction description wraps onto a second line, a withdrawal appears in the credit column, and a fee is overlooked in the footer. The workbook is complete visually, but the reconciliation fails because the conversion preserved appearance without preserving meaning.
Practical rule: A statement example is useful only when it helps us predict the final row and column structure.
PDF became widely used for bank statements because it preserves a document's appearance across software, hardware, and operating systems. Adobe created PDF in 1993, and the format later became internationally governed when PDF 1.7 was published as ISO 32000-1:2008 on July 1, 2008. ISO published PDF 2.0 as ISO 32000-2 in 2017, followed by a revised edition in December 2020, as documented by the PDF Association's overview of PDF standardization.
That stability explains why banks, customers, accountants, lenders, and auditors still exchange statements as PDFs. It doesn't make every PDF easy to process. A statement can preserve its visual layout while still requiring extraction, normalization, and review before its transactions are suitable for bookkeeping.
Anatomy of a Bank Statement Document
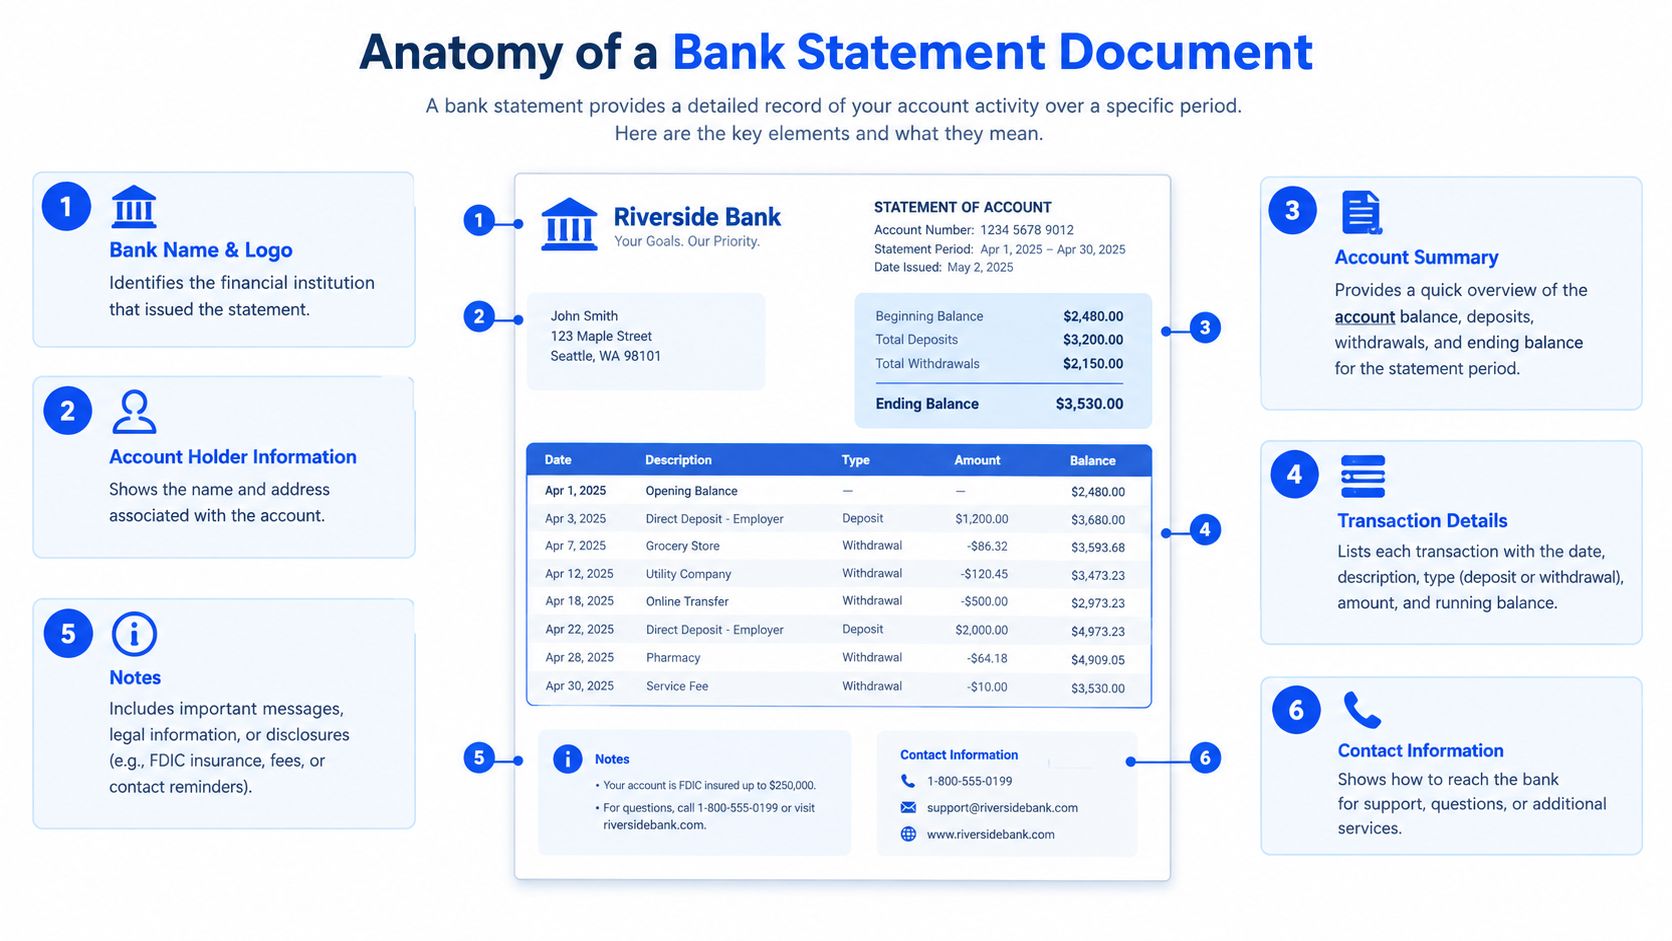
A bank statement normally has three functional zones, even when the design differs between institutions. The header establishes identity and period. The transactional body records activity. The footer supplies totals, balances, disclosures, and other control information.
Header zone
The header may include the bank name, logo, branch or mailing address, account holder, masked account identifier, statement period, and currency. These fields don't usually become transaction rows, but they establish which account and period the rows belong to.
Transaction zone
The body contains dated activity such as deposits, payments, card transactions, transfers, ATM withdrawals, and fees. The FDIC's checking-account guidance describes statements as showing fees, ATM withdrawals, debits, and deposits by date, together with balances at the beginning and end of the statement period.
Footer zone
The footer may show the closing balance, service charges, interest, notices, or explanatory disclosures. It can also contain information that looks like a transaction but shouldn't be imported as one. A parser needs to distinguish a summary line from an ordinary row.
The visual design varies, but the accounting logic is consistent. We need to identify the account context, preserve each transaction, and retain the opening and closing controls. A solid conversion process recognizes these roles instead of relying only on fixed positions on the page.
Digital Versus Scanned Statement Sources
A native digital statement usually contains selectable text generated by the bank's document system. We can often highlight a transaction, copy it, or search for a reference. Direct text extraction is generally preferable because it avoids introducing character-recognition errors.
A scanned statement is different. It contains an image of a page, even if the page looks sharp to a person. The text must be interpreted with optical character recognition, or OCR for bank statement processing, before software can turn it into searchable characters and spreadsheet values.
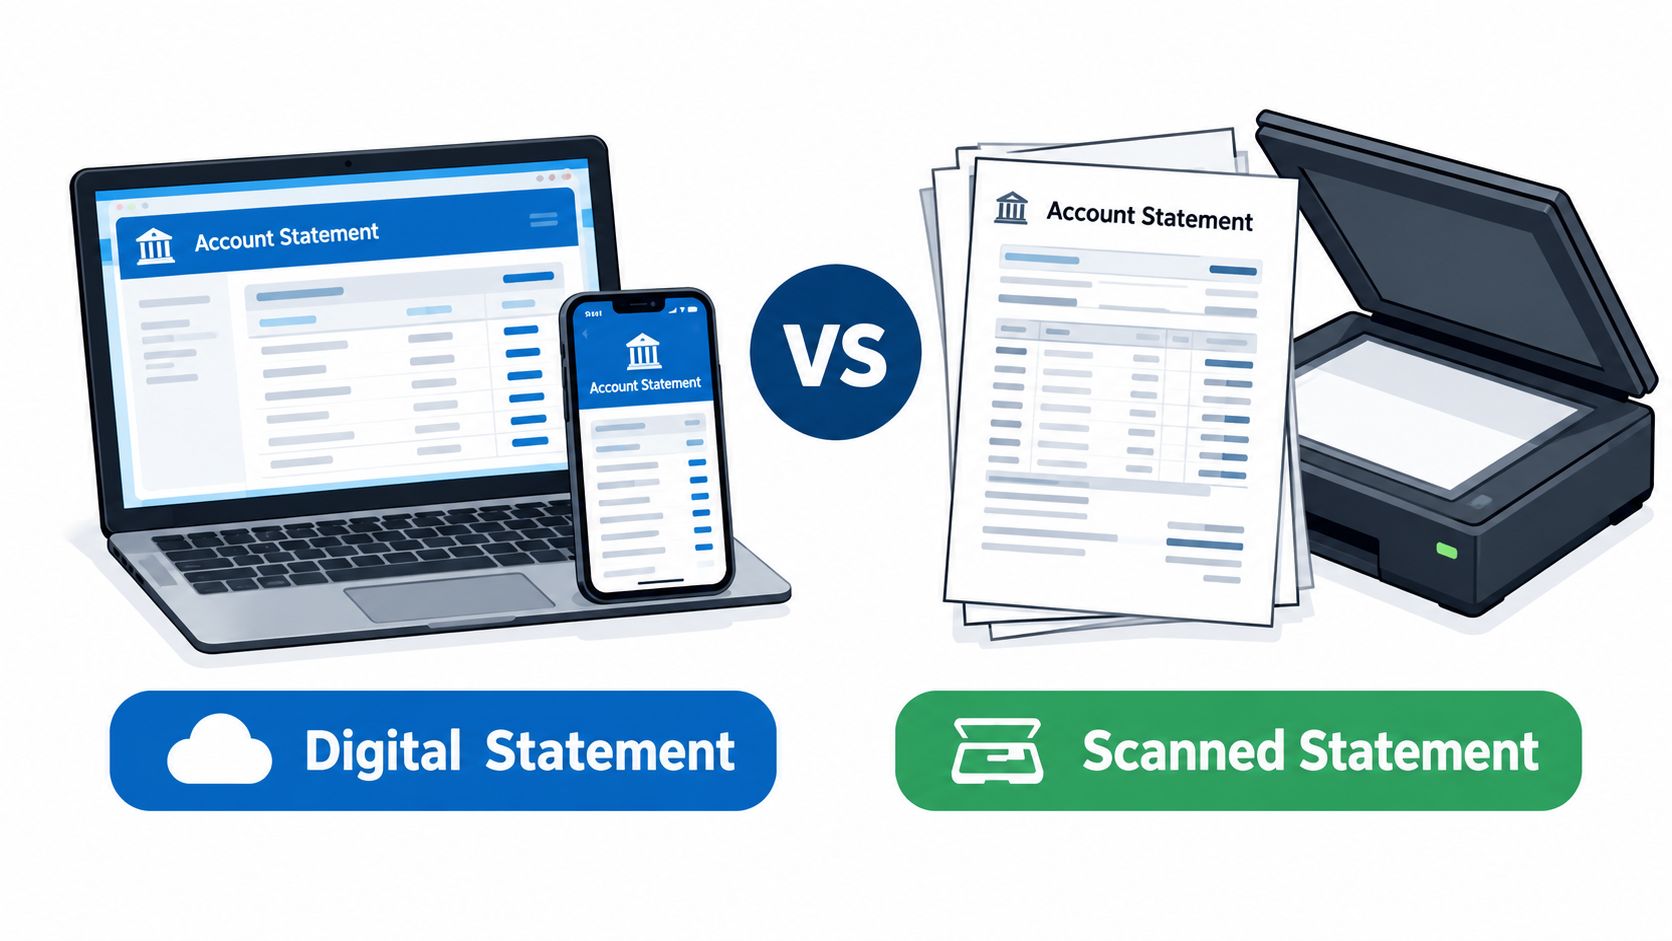
The distinction affects review effort. Digital files can still contain password protection, unusual reading order, or tables positioned as visual elements rather than clean text. Scans can contain skewed lines, stamps, shadows, low contrast, or handwritten marks. A misplaced decimal separator or lost negative sign can change the accounting meaning without making the output obviously defective.
OCR should therefore be treated as an extraction stage, not as proof of accuracy. The University of California, Merced PDF accessibility guidance explains that scanned PDFs require OCR for searchable text, while structure such as tables, headings, and reading order still needs attention. The same principle applies to finance work. We need to compare the resulting rows with the original statement.
Identifying Header Information Fields
Header information prevents a clean-looking spreadsheet from being attached to the wrong account or period. Before importing transactions, we should confirm the institution, account holder, account identifier, statement dates, and currency.
A practical review starts at the top of the first page:
- Institution: Confirm the bank or financial institution name and logo.
- Account identity: Check the account holder and the masked account number or other identifier.
- Statement period: Record the start and end dates exactly as shown.
- Currency: Confirm the currency before interpreting amounts or applying formulas.
- Contact details: Treat branch addresses and service information as reference data, not transactions.
These fields may be stored separately from transaction rows in the converted workbook, or they may appear as metadata above the table. Either arrangement can work, provided the relationship remains clear. We shouldn't force account identifiers into every transaction row if doing so creates clutter, but we must preserve enough context to trace the rows back to the source statement.
Header recognition also protects against a frequent operational mistake: combining statements from different accounts into one batch without retaining account context. If several files use similar layouts, filenames alone aren't a sufficient control. The account and period should be visible in the output or retained in a separate source column.
Review before import: Verify the account and statement period first. A perfectly parsed transaction from the wrong statement is still unusable.
Decoding the Transactional Body Layout
The transaction body is where most conversion failures occur. One issuer may use separate debit and credit columns. Another may use one amount column with a debit or credit marker. A third may place the running balance at the far right and include references, merchant codes, or pending indicators.
We should identify the column meaning before judging the extraction. Look for:
- Date: The posting date, transaction date, or both.
- Description: Merchant, payee, transfer narrative, or bank-generated text.
- Reference: Check number, transfer reference, authorization code, or other identifier.
- Debit: Money leaving the account.
- Credit: Money entering the account.
- Balance: The balance after the transaction, when supplied.
A wrapped description is not automatically a second transaction. The parser must join continuation text to the correct preceding row. Conversely, two transactions can share a date, so grouping solely by date can merge distinct activity.
The distinction between balance types matters too. The FDIC explains the difference between ledger balance and available balance. Available balance can reflect pending transactions, while the statement's ledger balance relates to recorded statement activity. We shouldn't compare a converted statement closing balance automatically with a banking app's current available balance.
The safest output separates debit and credit values where possible. If the source uses a signed amount, preserve the sign and document the interpretation. Never infer that every number in the rightmost column is a transaction amount. A statement footer, subtotal, or running balance can be mistaken for a row if the layout isn't understood first.
Mapping Statement Data to Spreadsheet Rows
The visual page becomes useful to finance teams only when each transaction maps to a predictable row. The FDIC's transaction-recording material supports a row-by-row approach, with deposits, checks, debit-card purchases, fees, and cash withdrawals recorded as individual transactions.
| Statement Column | CSV Field | Data Type |
|---|---|---|
| Transaction date | date | Date |
| Description or transaction type | description | Text |
| Reference or check number | reference | Text |
| Debit amount | debit | Decimal number |
| Credit amount | credit | Decimal number |
| Running balance | balance | Decimal number |
| Account or source identifier | account | Text |
The goal isn't to reproduce the PDF's typography. It's to preserve the logical sequence and accounting relationships. A transaction that occupies two visual lines may need one spreadsheet row, while a compact PDF line may contain several separate fields.
For a finance team, the expected output should be easy to filter, sort, and reconcile. Dates should occupy one field, descriptions another, and monetary values should be numeric rather than embedded in explanatory text. If a statement uses a single amount column, we should retain a clear debit or credit interpretation instead of leaving the reviewer to guess.
A source filename column can also help when processing multiple statements, especially where account context isn't repeated on every row. It doesn't replace header review, but it strengthens traceability during reconciliation.
Data Normalization and Parsing Rules
Extraction produces raw values. Normalization makes those values usable. A statement may display dates in a local format, use commas or periods as decimal separators, place parentheses around negative values, or show debit and credit markers beside a single amount.
Useful normalization rules include:
- Dates: Convert equivalent date representations into one consistent date field while retaining the original statement period for context.
- Amounts: Remove currency symbols and presentation separators only after confirming their meaning.
- Signs: Preserve negative signs and translate debit or credit indicators into explicit fields.
- Descriptions: Join wrapped lines, remove accidental spacing, and retain meaningful merchant or reference text.
- Balances: Keep running balances numeric so formulas and comparisons work correctly.
Punctuation should be cleaned carefully. Removing every symbol can damage merchant references, check numbers, or meaningful identifiers. The objective is compatibility with spreadsheet workflows, not aggressive text stripping.
A parsed file may contain values that look correct but remain text. Sorting dates alphabetically, adding amounts as strings, or treating a negative sign as a separate character can create silent failures. We should test representative rows before importing the full batch.
The bank statement parsing guidance is relevant here because parsing is more than copying visible characters. It involves identifying fields, assigning meaning, and producing consistent output that a person or accounting import process can evaluate.
Executing the Conversion Workflow
A practical workflow starts with the source files, not with the spreadsheet. Keep the original PDFs unchanged, confirm that each file belongs to the intended account and period, and note whether the statement is digital, scanned, or password-protected.
A typical conversion sequence is:
- Select the statements. Upload individual PDFs or use bulk upload for a group of files. Each file can be up to 25 MB.
- Handle protection. For a password-protected statement, enter the password during upload so the document can be processed.
- Review the preview. Inspect the extracted transaction table before paying or downloading. Look for dates, descriptions, debit and credit placement, and balances.
- Choose the output. Select CSV or Excel/XLSX according to the receiving workflow.
- Download and reconcile. Compare the spreadsheet with the original PDF, then perform balance and transaction checks.
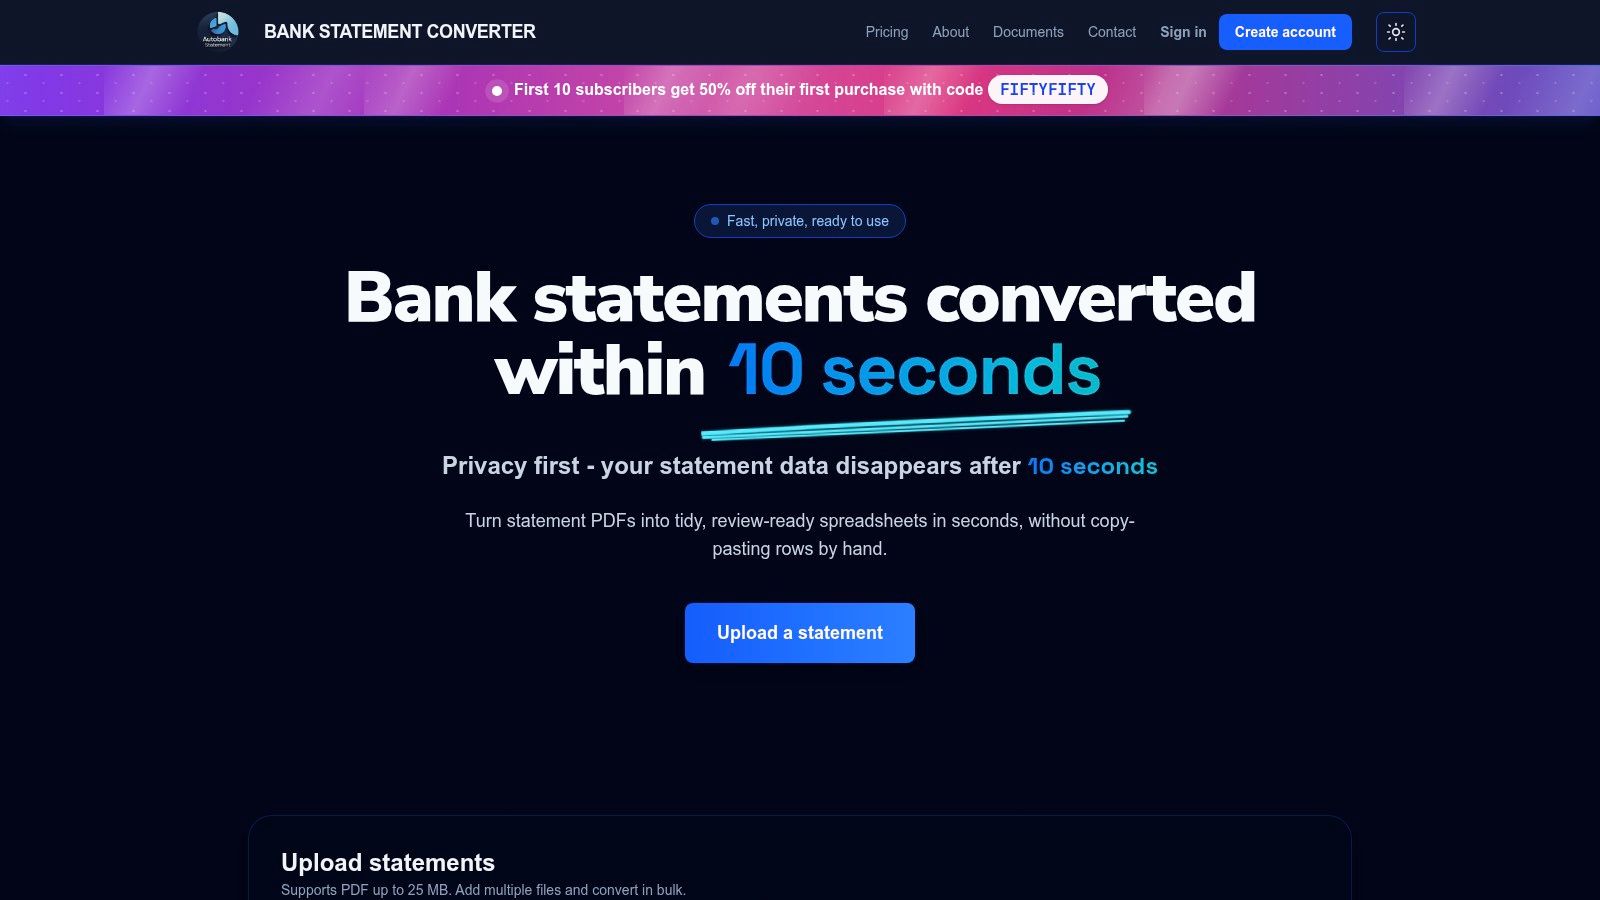
A free guest preview before payment is useful when we need to test an unfamiliar statement layout. It lets us judge whether the extracted rows are usable before committing to the final download. Registered users get 24-hour download access, and uploads auto-delete within 24 hours, which suits teams that don't want statement files retained indefinitely.
The important operational boundary is review. Bulk upload reduces repetitive handling, but it doesn't eliminate the need to inspect exceptions. Scanned pages, unusual layouts, and password-protected files deserve closer attention than a clean native statement with selectable text.
Choosing Between CSV and Excel Output
CSV is usually the cleaner choice when a receiving system expects a rigid table. It contains rows and fields without workbook formatting, which makes it suitable for controlled imports, scripted transformations, or simple archival of normalized transaction data.
Excel/XLSX is more useful when the review itself matters. We can add formulas, filters, notes, reconciliation flags, pivot tables, or separate review tabs without building a second workbook. The trade-off is that formatting can obscure whether an amount is strictly numeric, and spreadsheet applications may reinterpret dates or long identifiers.
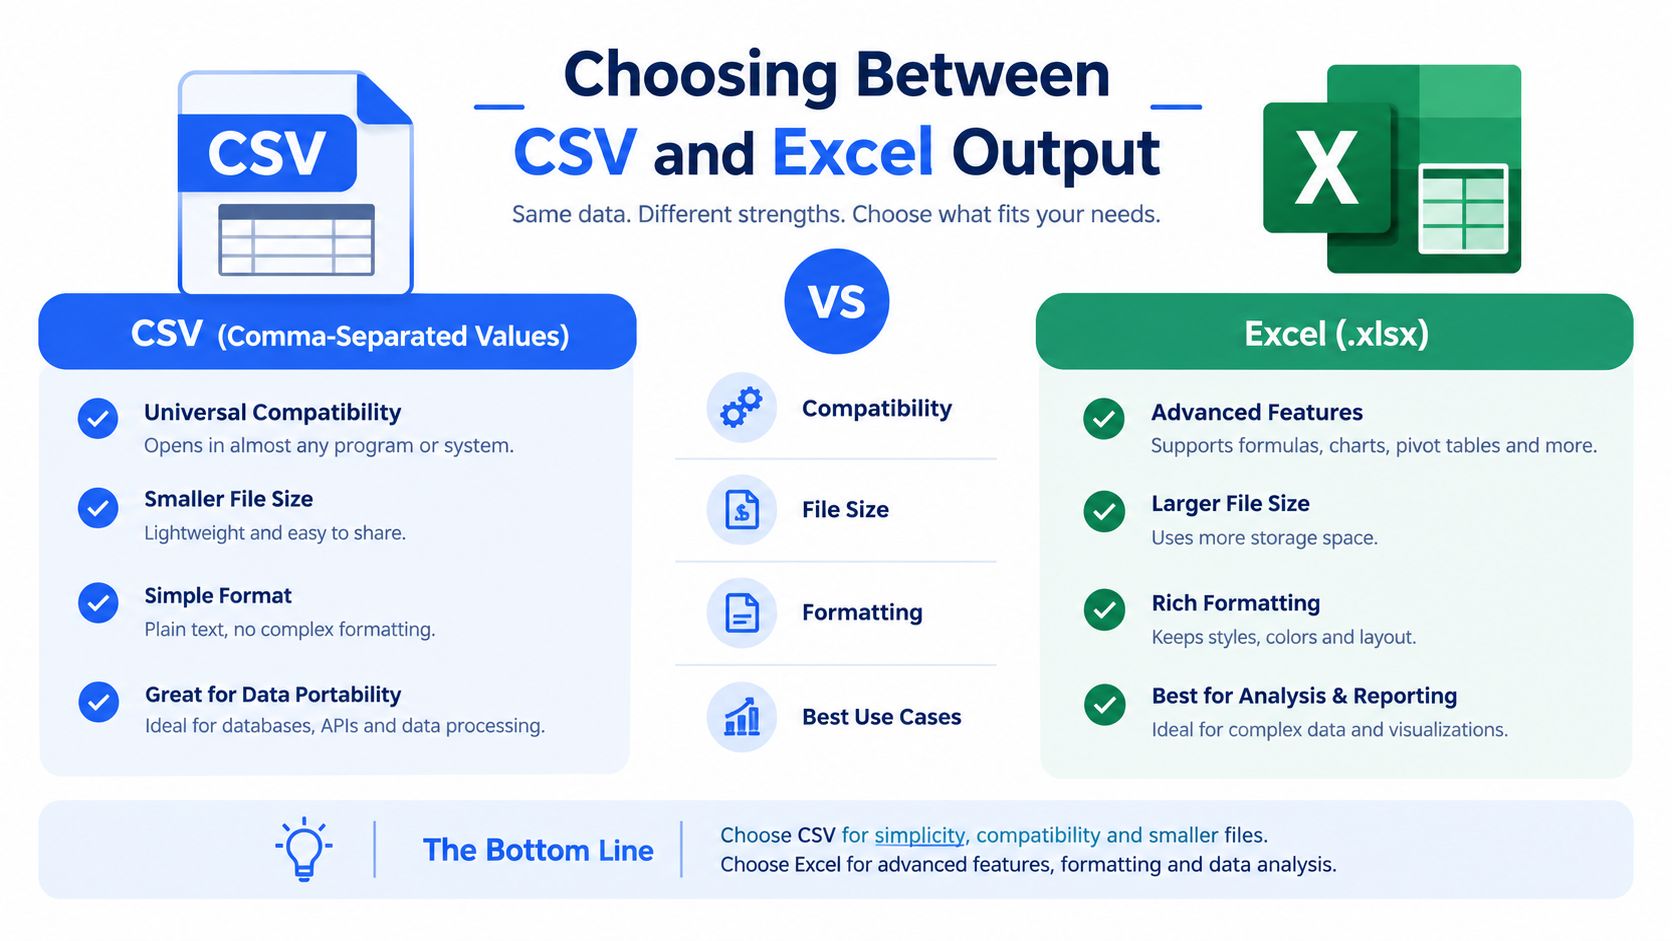
A useful decision rule is:
- Choose CSV: When the next step requires a stable delimiter-based table or an import template.
- Choose Excel: When accountants need to review, annotate, reconcile, or analyze the output before posting.
- Use the preview: Confirm field order, amount interpretation, and date behavior before finalizing either format.
For teams comparing conversion approaches, a PDF to Excel file converter workflow can be evaluated against the actual receiving process rather than against the visual appearance of the source. The right format is the one that reduces downstream cleanup without hiding extraction issues.
Verifying Accuracy and Reconciliation Checks
Conversion isn't complete when the download finishes. It's complete when the spreadsheet agrees with the statement and the accounting logic holds.
Start with the control equation:
Opening balance + credits − debits = closing balance
The FDIC's statement guidance supports using beginning and ending balances as review points. Investigate differences rather than forcing the spreadsheet to match. Fees, reversals, pending items, or other entries may explain a variance, but the explanation should be visible.
Use a short quality-control list:
- Check balances: Compare the opening and closing balances with the PDF.
- Check signs: Confirm that withdrawals reduce the balance and deposits increase it.
- Check completeness: Compare the spreadsheet's transaction rows with the statement's activity and summaries.
- Check dates: Look for dates that became text, changed format, or shifted during OCR.
- Check amounts: Inspect decimal separators, currency symbols, and high-value transactions manually.
- Check duplicates: Search for repeated rows created by page breaks or OCR overlap.
A technically successful export can still be accounting-incomplete. The IRS guidance on electronic records says digitized records should be reviewed for completeness and accuracy, and that original source records should be retained long enough to validate accurate reproduction and metadata. Keep the original PDF available for that comparison.
Pricing and Access Tiers Explained
Autobankstatement offers several access levels for different statement volumes. The Starter plan costs $15 per month and includes 400 pages. The Professional plan costs $30 per month and includes 1,000 pages. The Business plan costs $50 per month and includes 4,000 pages. Annual discounts and custom enterprise limits are also available.
The plans make sense for different working patterns:
- Starter: Suitable for a smaller bookkeeping workload with recurring statement conversion.
- Professional: Better aligned with a busier practice or finance team processing several accounts.
- Business: Intended for larger recurring batches and broader operational volume.
- Enterprise: Appropriate when standard page limits don't reflect the organization's requirements.
Files can be up to 25 MB, and bulk upload helps reduce repetitive file handling. A free guest preview before payment is useful for checking an unfamiliar PDF bank statement example, particularly when the file is scanned or has an unusual table structure.
Registered users receive 24-hour download access, while uploaded files auto-delete within 24 hours. That temporary handling model should still be matched with the team's own retention and source-document policies. We should preserve the original statement where accounting, tax, lending, or audit requirements call for it, rather than relying only on a converted spreadsheet.
Strategic Takeaways for Finance Teams
A PDF bank statement example should answer a functional question: what will this page become when it enters the reconciliation workflow? The strongest examples connect the header, transaction body, balances, and footer to discrete spreadsheet fields.
Three practices matter most:
- Recognize the source. Native digital PDFs and scanned statements require different extraction approaches.
- Normalize the output. Dates, descriptions, debit and credit indicators, signs, and balances need consistent fields.
- Verify the result. Use the original statement, transaction review, and the equation opening balance + credits − debits = closing balance.
Automation should remove repetitive typing, not remove accountant judgment. When the spreadsheet is review-ready, we can spend our time investigating exceptions, reconciling balances, and understanding cash activity instead of rebuilding rows from a document page.
Autobankstatement converts digital, scanned, and password-protected PDF bank statements into CSV or Excel/XLSX files, with bulk uploads for files up to 25 MB and a free guest preview before payment. To test a PDF bank statement example and inspect the extracted rows before finalizing your workflow, visit autobankstatement.
Convert your next statement in minutes
Upload a bank statement PDF — digital, scanned, or password-protected — preview the extracted table, and download clean CSV or Excel.